


Although many organizations are making their way to SharePoint 2016, a large number are still using SharePoint 2013 as their major corporate collaboration tool. This story is for you.
SharePoint is embedded in almost all medium and large organizations in some fashion or form, and SharePoint 2013 is now part of the Office 365 subscription service, meaning that hundreds of thousands of users pay monthly to access software that is available to them at the click of a mouse. And as part of the subscription, you automatically get the latest version of the software, so more and more users are seeing SharePoint 2013 in their daily lives.
But SharePoint is as complex as ever, and in the 2013 and Office 365 releases, Microsoft definitely moved the cheese from where it was in SharePoint 2010. The interface is different. Some ways you interact with the software have changed. You might be lost. Or perhaps you are new to SharePoint, even if you have heard about it before, or maybe you are interested in really teasing out the power of SharePoint 2013 as you work with your team.
That's what this cheat sheet is for. In here, you'll learn all of the basics of navigating and using a SharePoint site, and where to go to hit some of the customization options as well.
Note: There are a couple of different versions of on-premises SharePoint 2013. One is freely available and is called SharePoint Foundation 2013; the other is a licensed, enterprise-ready product called Microsoft SharePoint Server 2013. While they both look the same and have the same feel for users, some functions are available only in the Server 2013 product. (There's also the Office 365 version of SharePoint 2013, called SharePoint Online, which will be covered in an upcoming separate Cheat Sheet.) In this piece, we'll focus on the very commonly used SharePoint Foundation 2013 interface, which has 100% of what you need as a user anyway.
If you are just starting out. . .
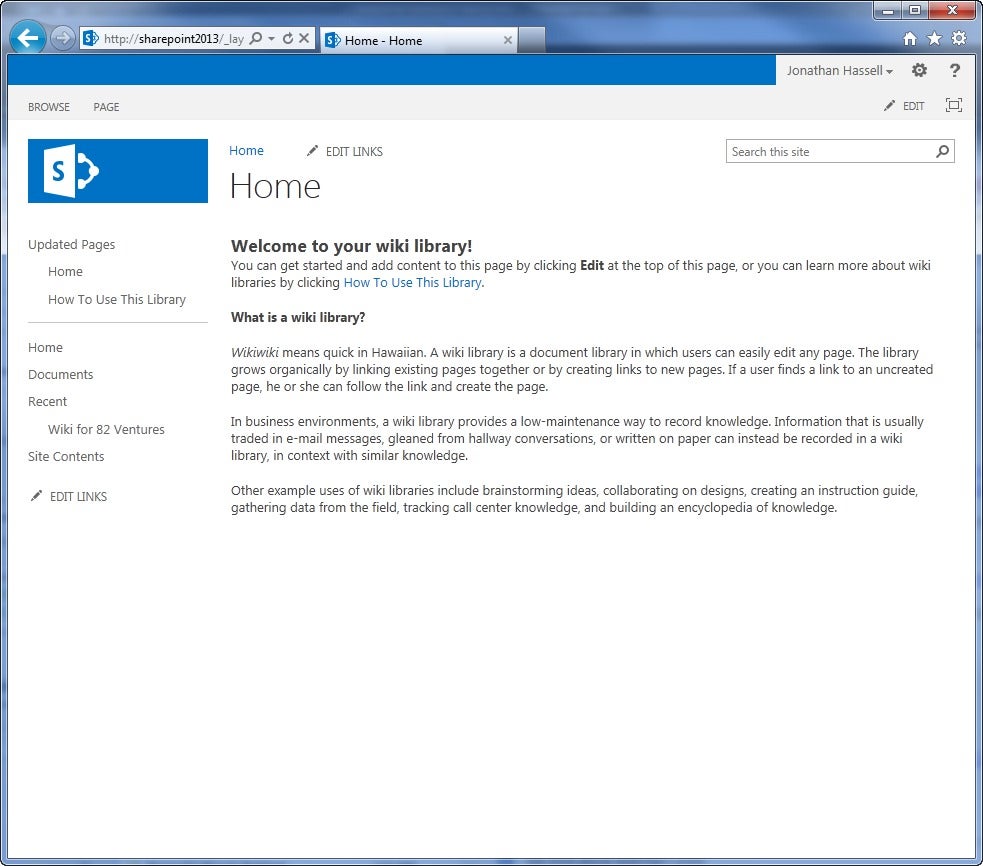
SharePoint 2013 refreshes the default look of the site as compared to SharePoint 2010. It looks cleaner and more modern, but that means some of the features you are used to might not reside where they did. Many of the same parts are there -- just in a different place. (Some of these might look familiar to you from other Microsoft Office apps, which use many of them.) Take a look.

- The Settings menu. This is where much of the action happens. On the Settings menu, you can adjust who else can see a page, edit parts of the current page, add a page to the current library or site, add a SharePoint app -- a new feature in the 2013 release -- or change the settings of a site.
- The Credentials area. This menu, accessed when you click on your display name in the top right corner of the web page, is where you can sign into or out of a site, and where you can change any user-modifiable sections of the web page (known as web 'parts,' which are little bits of code that are sometimes installed on SharePoint pages to do specific functions).
- The Ribbon. SharePoint 2013 includes the Ribbon, a panel at the top of the window where almost all of the functions possible on a given page are grouped and displayed. Most SharePoint pages have the Browse tab on by default, which gives you a breadcrumb-style hierarchy -- helping you to navigate among pages on the site and see how you arrived at the current page. If you're in a document library, the Library Tools ribbon panel will appear; if you're in different types of lists, the tools will differ in the ribbon.
- The Quick Launch bar. Running along the left side of your SharePoint web page, this bar helps you jump among the various parts of your site, including different lists, libraries, discussion areas, picture collections, the site Recycle Bin (which works exactly like the Windows recycle bin except it holds items from the SharePoint site only), and a full tree-like view of all the places on your site.
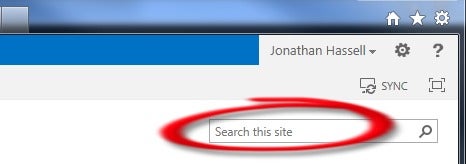
- Under the ribbon, you will find the Search box, where you can type in any sort of search query, click the magnifying glass icon to the right, and then take advantage of the indexing engine on the site to get comprehensive results from any file that includes your search term.
Types of SharePoint site content
The whole point of SharePoint is to be a place where things can be shared, everything from documents to calendars to lists to pictures to discussion boards and more. All of it can be a part of a SharePoint site, and any user you allow within your organization's network -- and in some cases, even users outside of your network, such as partners or vendors -- can then access those pieces and collaborate with you. SharePoint 2013 has a defined list of content types that you can create on a given site. They include:
- A page. A page is exactly what it sounds like -- a page that is edited within the browser using the editor functionality in SharePoint. These pages primarily contain text, but you can embed images, links, lists, and web parts (those little bits of code I mentioned earlier) within them.
- A document library. You can create a document library that lets you upload Word files and other files to share. These document libraries offer the ability to check files out to make sure that only one person edits them at any given time, to keep versions on file so that you can see the revision history and activity of a given document, and to create folders to structure documents logically within the library.

- Other kinds of libraries. There are form libraries that store XML forms your business can use to route information through Microsoft InfoPath; picture libraries that just store image files; and wiki page libraries, which basically create a quick way to edit text and have it remain on the web as well as link that text to other pages -- a poor person's shareable text editor, you might say.

- A site itself. Sites are basically collections of content, so you can create sites underneath your main SharePoint site (kind of like large folders on your file system) to collect related materials that deserve their own focus. Meetings, blogs, documents and teams might have their own sites. If the hierarchy is confusing, think of it like this: a site is a file drawer in a file cabinet, and the libraries, lists and other types of content are the individual folders within that file drawer.
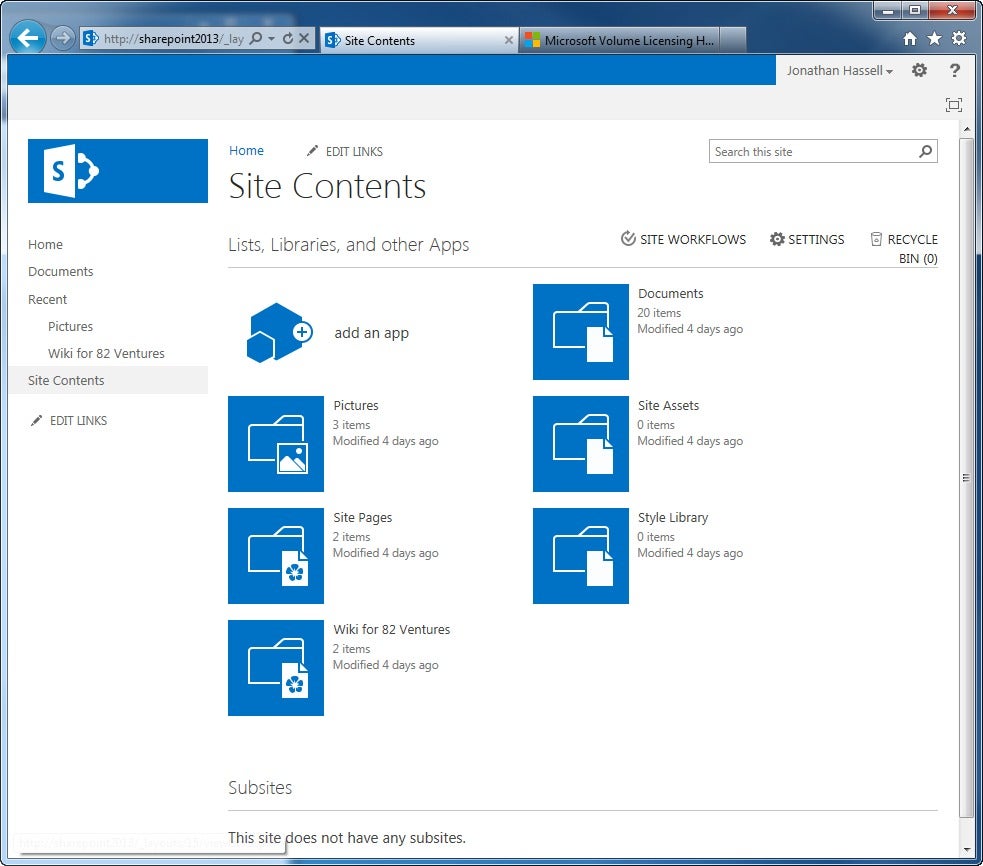
- A list. Lists are collections of like items. You can choose from a list of links, announcements, calendars and contacts. You can also select a suggested site of links, a custom list in both traditional list form or as an editable datasheet, a discussion board, an issue tracking list, a list of links, a list of project tasks (with a Gantt-like chart), a survey, a task list, or an imported spreadsheet.
Uploading and managing documents
The most common use for SharePoint is as a document repository. You and other team members and colleagues can put documents and files all in one specific place, accessible to everyone, thus avoiding the all-too-familiar email blasts with Word documents attached. (I would wager that if you never saw another "Please disregard the previous message, I've attached the correct newest version of the file here" message pass through your inbox, it would probably not be too soon.)
You can then simply email hyperlinks to documents on the SharePoint site when collaboration needs to happen. As users modify and update files, the latest version -- as well as previous versions, and the history of who revised what and when -- is stored in a single place.
To get started, you will probably need to create your own document library. This is fairly straightforward.
- Open SharePoint in your web browser.
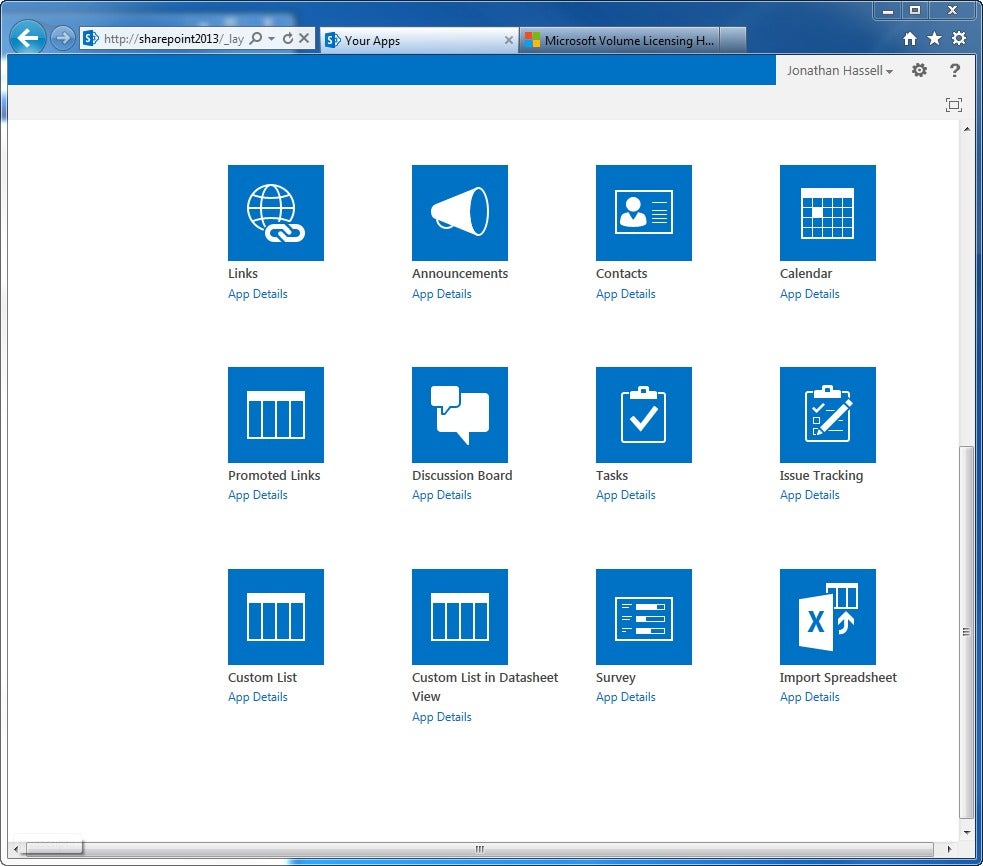
- From the Site Settings menu (remember, this is at the top right of your window), click Add an app.
- On the Site Contents - Your Apps screen, click Document Library under either the Noteworthy section or the Apps You Can Add section. They both point to the same place.
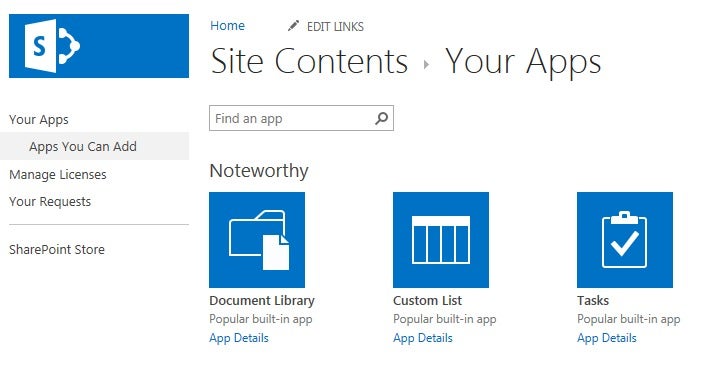
On the Site Contents - Your Apps screen, click Document Library under either the Noteworthy section or the Apps You Can Add section.
- At that point you will see a new screen that reads Site Contents -- New.
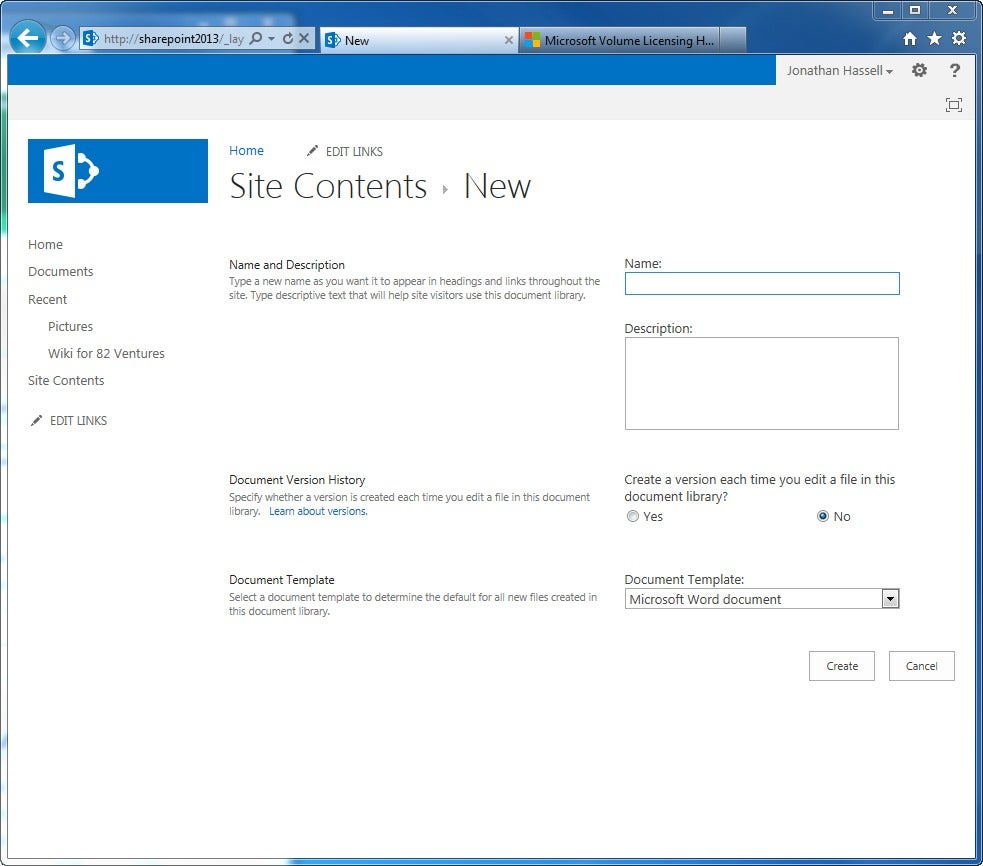
The Site Contents - New screen appear.
- Enter a friendly name and a useful description of your new library.
- Choose whether or not a version of the file is created each time someone edits a file in this library. When in doubt, choose yes; you would be amazed how often this versioning history comes in handy.
- Select a type of template that will become the default template for the library if someone chooses the New File option on the ribbon. This is not an important choice, as a document library can hold just about any type of file.
- Click Create to close out and be taken directly to your new library.